
Popular
Popular


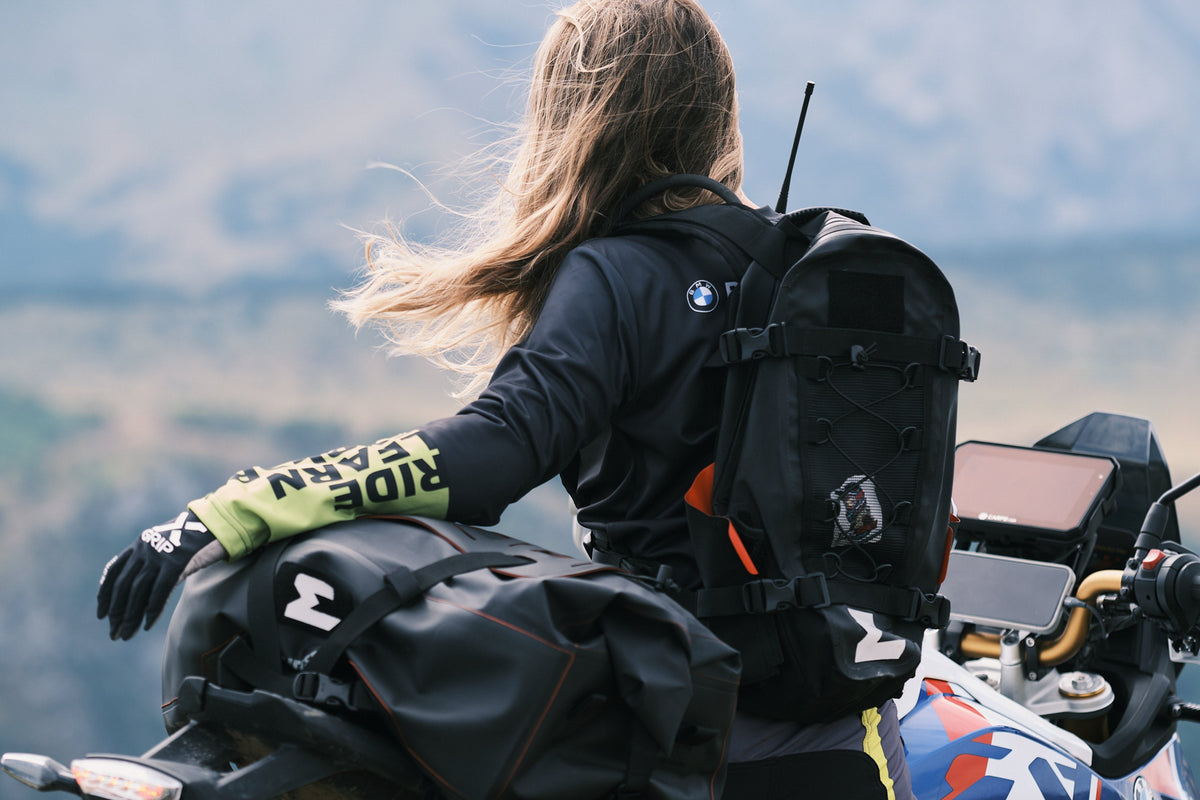
You bought a light dual sport so you could ride light, and somehow you have ended up in a world where everyone tells you to bolt an aftermarket steel exoskeleton onto it, because #luggage.
Sound familiar? Everyone has been here at some point (and most of us have done it too). The choice of aftermarket luggage racks is huge, sturdy hard-case panniers seem like a great idea, and what if your weekend TET rides one day grow into a longer trip or an RTW expedition?
Then you ride the first steep, rocky climb or a sandy section with a 'lightweight' rack setup, and suddenly your bike feels like it is carrying a rather medieval backpack of metal and regret.
So: let's do this properly.
This guide is for riders on light dual sports and enduro-style machines (think KTM 500, CRF300L, Husky 701, T7, DR/DRZ and the like) who want a rackless motorcycle luggage system for roughly 30 to 40 litres of kit, without the rear end turning into a stressed plastic soufflé. We cover what really matters: the setup, weight distribution, heat shields and how to stop the bags swaying on technical trails.
No hype, no 'just open the throttle' bravado. Just real-world physics, and the art of not cursing your luggage on the trail.

Rackless or rack
We are not saying luggage racks are bad. They are simply built for a specific purpose, and frankly they are a bit too enthusiastic for small and mid-sized dual sports. And on a light bike, that enthusiasm has consequences that have a lot to do with gravity.
If your goal is 30 to 40 litres and you want to keep your bike narrow and agile, rackless is not a compromise. It is often the smarter way. Read the full comparison in Rackless or pannier racks with soft bags?
The physics
However much you pack, your subframe doesn't just carry weight. It carries leverage. The further back and the higher you place mass, the more it tries to bend mounting points, stress straps and bolts, crush plastics and turn your bike into a squeaky shopping trolley.
Do it right, and rackless keeps your weight forward, low, close to the bike and evenly split between left and right.

These are the four forces that can spoil your ride:
Once you have these forces under control, rackless setups become stable, predictable and (ideally) forgettable. That is exactly what you want from your luggage.
Preparation
Ten minutes that will save your plastics and your valuable kit. This is the boring bit everyone skips, because you are keen to get going, it is already late and your head is already on the trail. Two hours later you are standing beside a forest track, smelling something burning and discovering a patch of melted kit on your exhaust.
So first look at your bike the way your luggage is about to: as a collection of contact points.
Rackless systems don't float. They rest. And usually they rest on the same handful of spots every time: the side panels, the frame tubes and the area around the seat. None of those parts were designed to be lovingly sanded for 600 km. If there is a spot where fabric, strap or buckle can rub, assume it will rub as if it is paid per vibration. Apply protection (protective film, for example) where it makes sense. You don't want to mummify your bike, you just want to stop your plastics looking like abstract art later on.
Then there is the exhaust side: the final boss fight. If you have ever smelled 'scorched expensive', you know this is not theoretical. A heat shield is not a decorative accessory you stick on and forget. It has a job: keeping the bag off the hot metal parts, creating an air gap so the heat can dissipate, and staying in place when the suspension compresses and the whole system shifts slightly as you ride. The classic mistake is setting everything up in the garage, stepping back to admire your work, and then discovering that under compression, bumps and impacts the bag swings inwards and touches the hottest part of the exhaust.

So do the least glamorous but most important test first: pack the bags, compress the rear suspension firmly and check the clearance again. Not 'looks fine from here', but real clearance. Look at where the bag could move, where straps could shift, and whether anything runs past a hot spot or a sharp edge that could wear through fabric or straps over time. That is how you avoid the smoky heartbreak later.
Finally: anchor points. Rackless luggage is only as reliable as what you attach it to. You want solid, wobble-free, confidence-inspiring parts of the bike: pillion footpeg hangers, solid frame sections, subframe joints, or a rear plate if you have one. What you don't want is anything that wobbles, flexes or looks like it was designed by someone whose main goal was 'pass inspection'. Indicator mounts, number plate brackets and flimsy parts are not anchors. They are future campfire stories (just not the fun kind).

Do these three things (protect the rub points, respect the exhaust and anchor to something that won't let you down), and the rest of the rackless setup gets a lot easier. Because then you are not fighting your bike. You are working with it.
Step by step
Before you touch a single strap, decide what you are actually going to build. Most rackless setups fall into two camps: you use rackless saddle bags that sit low and behave, or you go for a tail pack, tank bag and backpack. That last approach is modular and forgiving, especially if most of the extra volume is light and bulky, such as a thin sleeping bag and clothing.
If you ride technical terrain, the rule is simple: start with side luggage that sits low and forward, because that is where the stability is. Only add a small tail pack if you really need it, and not because you are emotionally attached to 'just in case' kit that has never saved anything.

Rackless luggage works when you put it where it belongs, not just where it feels right. The aim is to balance the load so it sits far enough forward not to act as a lever at the back, low enough to avoid the pendulum effect, and high enough not to touch your rear wheel at full suspension compression.
This is where you do the boring checks that prevent exciting problems: look at chain clearance, allow for wheel travel and compress the suspension to see what happens when the bike is actually being ridden. Skip this and the trail will teach you. Loudly. Usually with rubbing, melting, or a strap that is determined to become part of the spokes.
What separates a well-behaved rackless setup from one that is always trying to escape is opposing tension. Straps must work against each other to lock everything in place. Front anchors stop the load sliding backwards, rear anchors stop it moving forwards, and cross-tension stops it swaying sideways. If all your straps pull the same way, your luggage will drift off as if it is looking for a way out.

And it will find one, usually halfway down a rocky descent.
Bag sway is the most common character flaw of a rackless setup, and it almost always comes from the same three sins: the load sits too high, the strap angles are weak or the routing is sloppy, and there is empty space in the bags, so your kit shifts around as if it is making itself comfortable.
These are not advanced tricks, but they work: keep your heaviest items low and forward, cinch everything down tightly inside and out, and pack so there is no empty space. Anything that can move, will move. If your setup allows it, run a stabilising strap across the bike to limit sideways sway. Sometimes the real solution is simply taking less. Rackless luggage rarely lets you overpack. Read how to pack smartly in How do you pack soft panniers to keep the weight low?
Before you hit the trail, grab each bag and give it a firm, hard tug sideways, harder than seems necessary. You are not being rough, you are just rehearsing what the trail is about to do. Compress the suspension once more and check the exhaust clearance again, because heat damage is slow but expensive. Check every strap: if it rubs over something sharp or sits close to something hot, assume it will eventually fail. And above all, make sure nothing can touch the wheel or the chain. You don't want to discover that while riding.

Stop after 20 or 30 minutes of riding and re-tighten all the straps. This is not a mistake: straps always settle, fabric shifts and everything finds its true shape after a few kilometres. The trick is making sure you come out on top.
Examples
If you ride rough terrain and want a stable setup without racks, rackless saddle bags such as the Blizzard are often the best answer. They sit snugly against the bike, keep the weight low and help stop your kit swaying.
Ideal for: TET weekends, trips with plenty of off-road and minimalist multi-day rides.
A tail pack works well for light kit, as long as you don't turn it into a heavy, awkward lump. Keep anything heavy out of the tail bag.
If you are packing for a longer trip or simply need to carry more, a hybrid setup can be the answer. That means a soft luggage system with something that gives it shape and balance, while still staying light, snug and away from the heat. Hailstorm bags, for example, have a semi-rigid core that works like a rack, so you get stability without the weight of metal hardware.

Read more about both sizes in Hailstorm 35 and Hailstorm 50.
Finally
Rackless luggage is not magic. It rewards smart choices and punishes bad ones quickly, usually with bag sway, melted kit or that heart-stopping moment when you realise your bags are heading towards your rear wheel.
Do that, and you can carry around 30 to 40 litres on a light dual sport without fitting a steel exoskeleton, and without turning your bike into a stressed pack mule. Your bike stays narrow, its handling stays predictable and your luggage becomes boring.
And frankly, that is the biggest compliment you can pay your luggage.
Further reading
Keep riding light
Rackless saddle bags and tail packs that stay low, tight and stable, even on technical trails.
View all collectionsAny questions?
Not necessarily. If you carry a moderate load and fit the system properly (forward, low, tight and heat-managed), a rackless setup can be more stable and lighter than adding racks.
Pack your panniers so the weight is evenly distributed, reduce the pendulum effect by packing heavy items low, remove all empty space in the bags and use opposing strap tension. Always check and re-tighten after 20 to 30 minutes of riding, or after a fall.
It can, especially if your bike has no rail or frame at the rear. If you fit a rackless setup to a bike with neither, use protective stickers on the plastics, choose a system with a semi-rigid centre section, or add extra mounting points.
Use a proper heat shield with an air gap and check the clearance with the suspension compressed. Don't rely on how it fits 'on the stand'. Test it compressed.
That depends on your setup, the terrain and how strictly you pack. In general, rackless works best with moderate loads (around 30 to 40 litres). If you regularly carry heavy loads, consider a hybrid approach or a modular system.
Whether you use a fully rackless system or a set of soft panniers with an integrated centre section: always pack heavy items low and forward in the panniers, and keep light but bulky kit at the back or in a duffel bag on top. Keep left and right balanced and compress everything so nothing can shift.
For light dual sports and TET weekends, the Blizzard 2 saddle bags, optionally combined with a Tail Pack. For longer trips, the Hailstorm 35 or Hailstorm 50 with its semi-rigid core.
Your story
Have you experienced this yourself, or got a question or a tip for other riders? Be the first to share it here.


